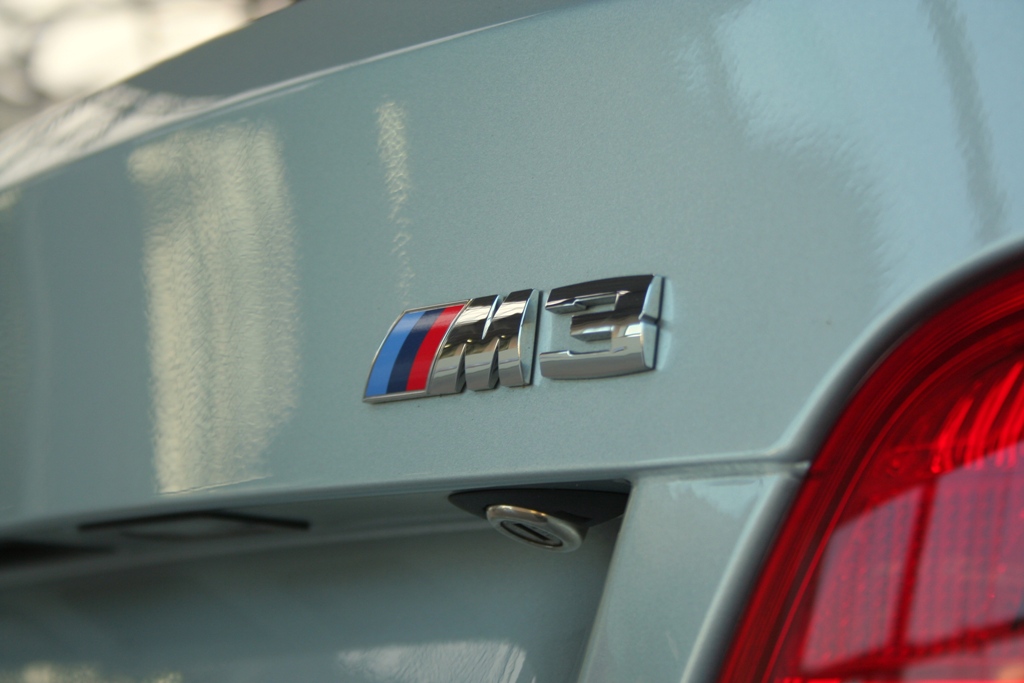
Orange Peel
Also known as: Texture
Pebbled, uneven surface of the paint film, similar in appearance to orange skin.
The orange peel defect in the paint of a car is caused, mainly, by poor levelling of the paint. This results in an “upstretched” coat of paint, with an irregular and excessively thick final coat.
The term orange peel refers to a bumpy coating surface that resembles the surface of an orange. It may be barely noticeable or very obvious. It is not considered a defect if it is not excessive. Excessive is in the eye of the beholder, of course. The Quality Supervisor on the first shift in an auto plant may find the paint jobs on the car bodies to be acceptable. The QS on the next shift may decide that there is too much obvious orange peel and the paint supplier will have to ask for adjustments to the spray parameters. Ultimately, the supplier may need to put a little more solvent in the clearcoat tank to get more flow.
Ironically, a survey of auto customer years ago found that a majority were not unhappy with orange peel. They thought that it meant that there was sufficient paint on the car.
Orange peel normally is due to poor flow-out and leveling of spray droplets, but occasionally is caused by surface tension driven flow (sometimes called sinks and bumps) in the oven. I also have seen a few cases where a rough basecoat produced an orange peel appearance even though the clearcoat surface was smooth (optical illusion?). Orange peel rarely affects gloss, but the bumpy surface can hurt distinctness of image (DOI), another sought-after appearance parameter.


Cause
Failure of the paint droplets to coalesce on the surface. This may be due to:
- Poor spraying technique, spray gun too far from surface, incorrect compressed air pressure, incorrect nozzle adjustment.
- Excessively thick or thin film.
- Paint incorrectly mixed, wrong viscosity, poor quality or incorrect thinner.
- Insufficient drying time between coats, cold air fanning to speed drying.
- Incorrect ambient or surface temperature, draughts.
- Spraygun held too far from object
- Spray pressure too low (poor atomization)
- Paint film too thin
- Viscosity too high (paint too thick)
- Hardener and/or thinner too fast for the conditions or size of object
- Spray nozzle too small
- Flash-off time too long between coats
Prevention
- Use the correct spraying technique and ensure that equipment is correctly adjusted.
- Apply paint in thin even coats.
- Ensure that the paint is correctly mixed, use only recommended thinner with the correct grade.
- Allow sufficient drying time between coats.
- Spray within the recommended temperature range and ensure proper ventilation.
- Keep spraygun within the recommended distance from the object.
- Ensure spray pressure is as recommended.
- Always apply wet coats.
- Adjust paint viscosity as recommended.
- Choose correct hardener and thinner.
- See tech data for correct choice of spray nozzle.
- Allow a long enough flash-off between coats.
- Carefully follow all paint manufacturer application directions from data sheets.
- Make sure base coat or surface to be painted is well prepared and dust free.
- Ensure spray gun is set up correctly for the paint being used.
- Test on a small area first.
- Always use recommended or high quality thinners
- Avoid painting in environments where the temperature is high.
Remedy
Rub out the orange peel, compound and polish. In severe cases it may be necessary to flatten and repaint the surface.
For minor problems, sand down with P1200, polish with Glasurit 562-1602 Fine Polishing Compound and finish with any standard high-gloss polish. For major problems, sand down completely and apply a new finish.
If the orange peel defect is only present on the surface of the part, you should proceed as follows:
First, we will sand the area with a P1200 or P1500 sandpaper. Once the surface has been sanded, we will clean the dust generated with a degreaser and microfibre cloth.
Subsequently, we will apply a quick polish with the polishing machine, ensuring an even pressure and movement.
If the defect’s thickness is excessive, the surface must be prepared for the entire painting process.
We will sand the surface until the damage is removed, then apply the primer paint and the final finish.
